Vaporizing Tips: How to Use a Dry Herb Vaporizer
Vaporizing Tips: How to Vaporize Weed Properly
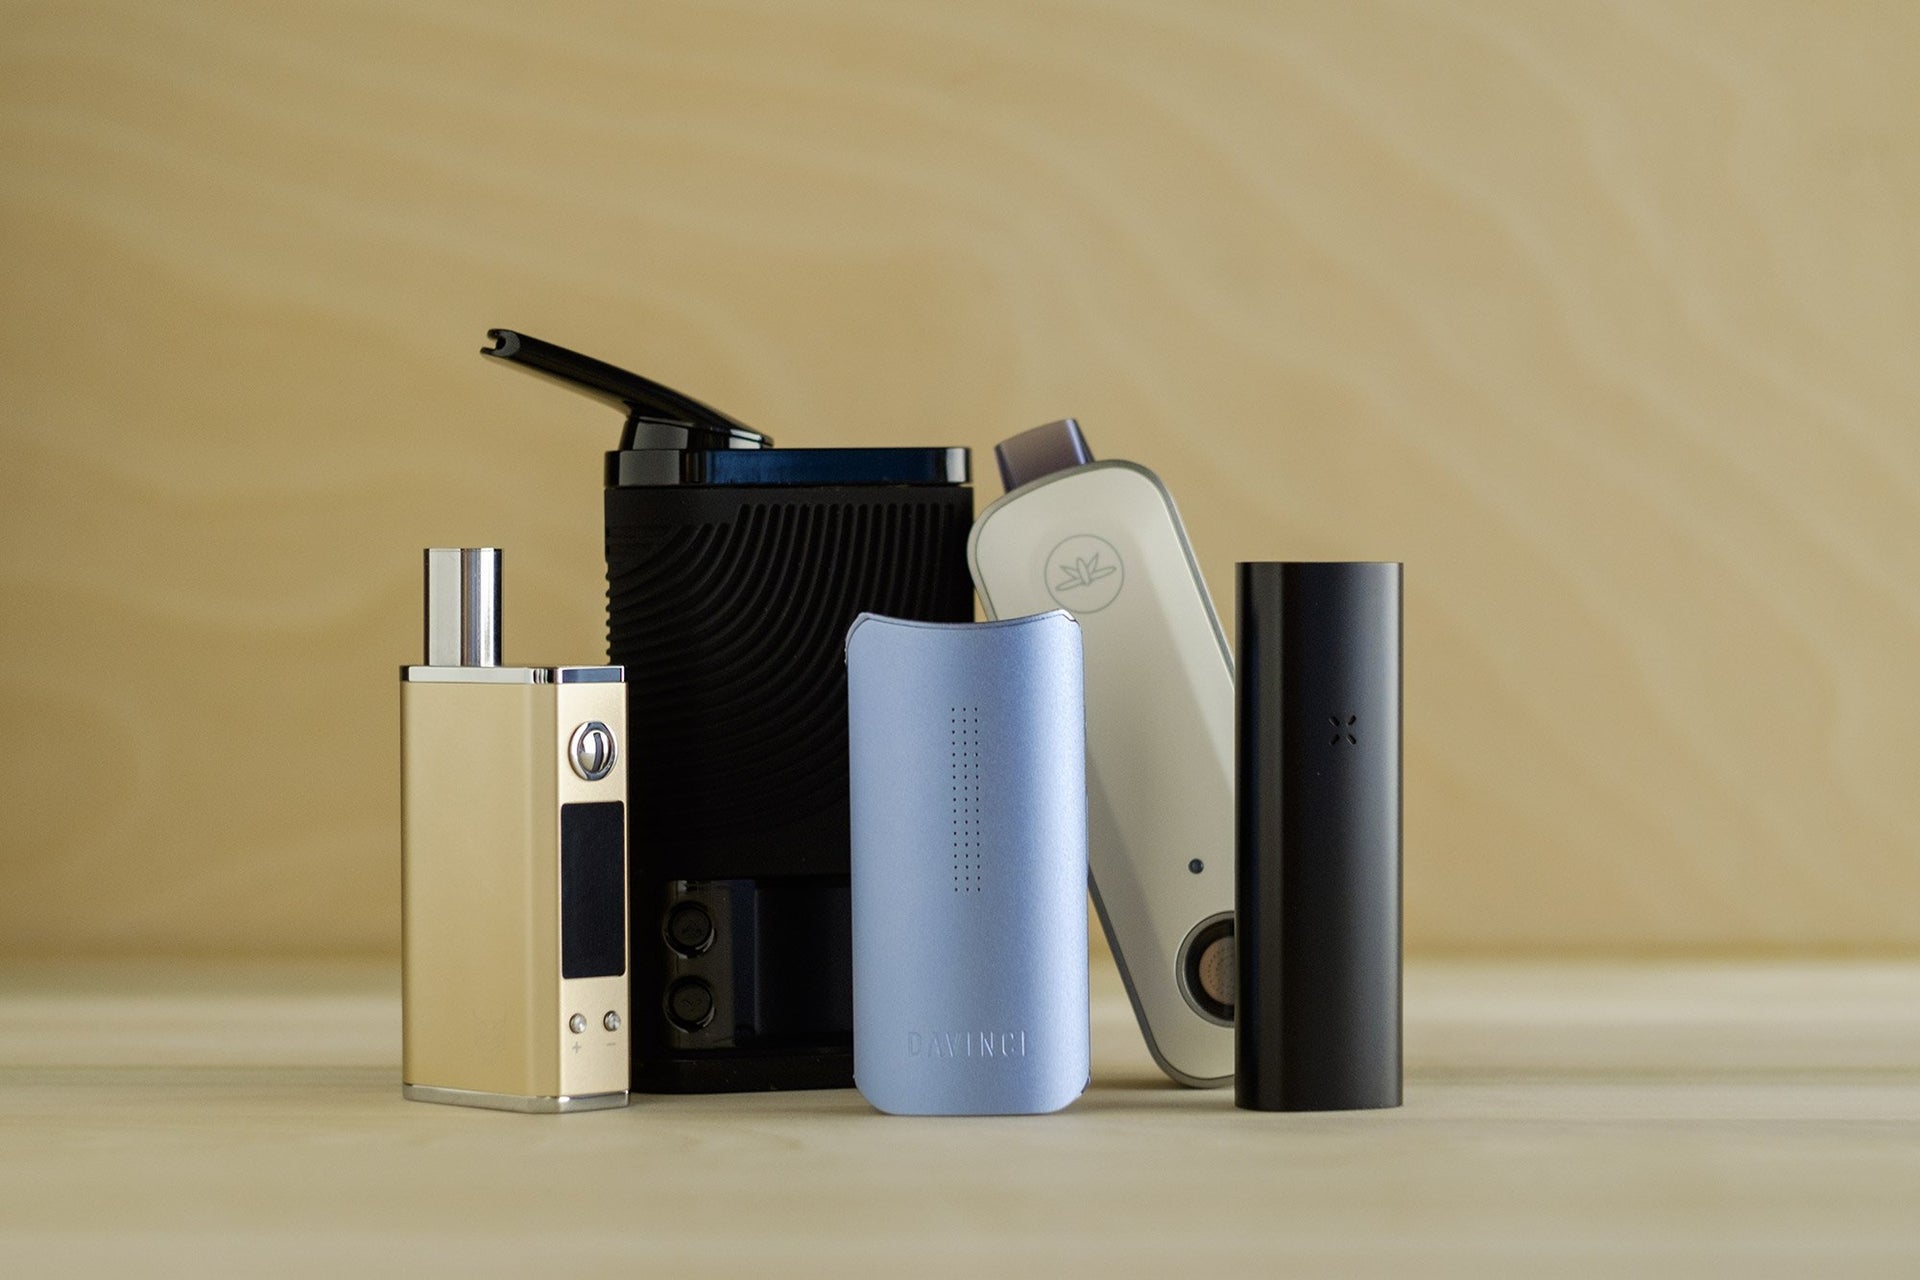
Modern vaporizers come in many different shapes and sizes. However, most dry herb vapes at least, share many similarities when it comes to prepping your material, loading them up, and using them to enjoy some tasty vapor. We have compiled a list of some with some basic knowledge to get you on the right path to enjoying some smooth and tasty vapor.
Prep Your Herb
Probably the most important step when using a vaporizer is to properly prep your material. You'll find that fresher material won’t vaporize effectively at all. There’s a little too much water content left in the bud and since water and cannabinoids have different boiling points, you aren’t going to get the same quality of vapor that you might get when vaping some properly cured flowers. And while you can vape dry, crumbly material, it follows the same concept as vaping overly fresh material: it just won’t produce the same quality of vapor and can lead to a very disappointing session.
Check Your Herb
The best way to ensure that you are using properly cured herbs is by using an Integra Boost pack, which helps to regulate the humidity inside of your stash jar and keep it around 62%.  Grinding your properly dried herb makes sure that you have the most surface area available so that it vaporizes correctly and leaves little to no material untouched. Grinders will usually have a few chambers and will collect the ground cannabis in the lower chamber as it falls through the holes from the top. The holes make sure that only the cannabis falls through to the second chamber when it has been ground to the correct consistency.
A great grinder to use with any vaporizer on the market currently would definitely be the Cali Crusher Homegrown. The Crusher's teeth are specially designed to both cut and fluff your bud to produce a perfect, pillowy pile of herb. After you have ground up your cannabis, you are ready to load up your device.
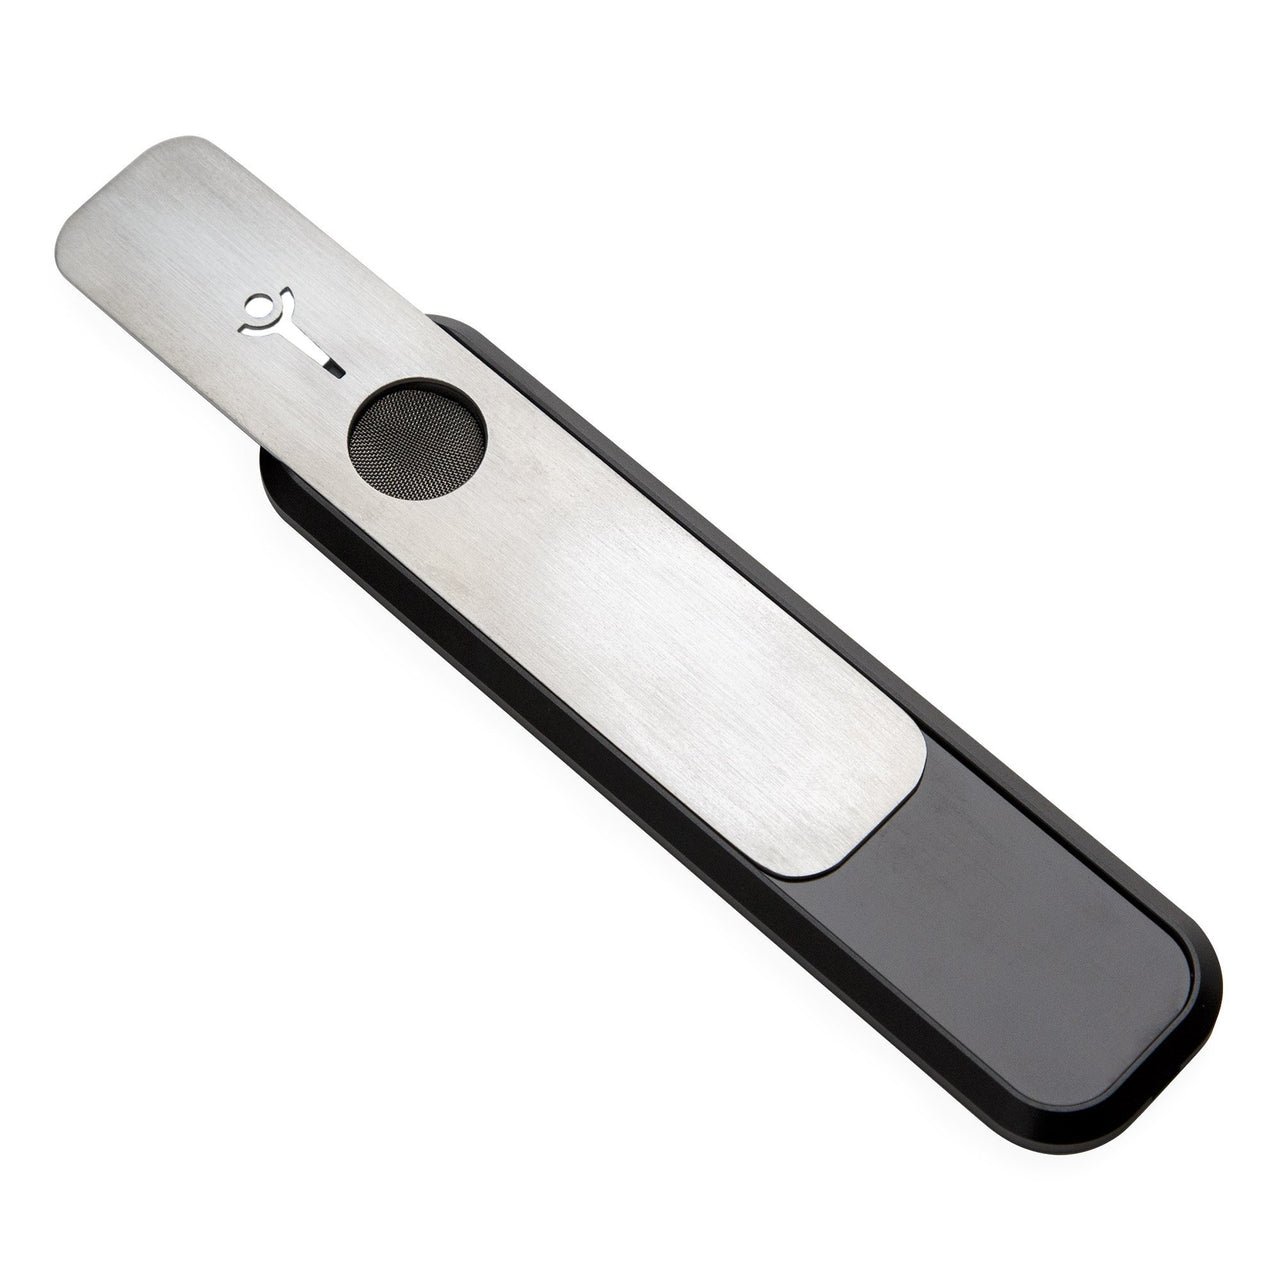
Always make sure that the chamber for your vaporizer is as clean and free from debris before loading it up to ensure that you can get the best quality of vapor produced. The best time to clean out any residue that may have built up inside of
 your heating chamber is right after a session since everything will still be fairly warm, and you can just simply use a 420 Wipe. Just make sure everything has had plenty of time to dry before loading up for use again.
When loading the heating chamber for your vape, you will want enough room for the proper flow of air but you also want to try and fill the entirety of the chamber. Convection vaporizer will usually have the best results with a bit of a looser pack job, while conduction vapes want a tighter pack.
Cannabis gets the best vapor production when vaporized around 355-430 degrees F. It’s usually best to start at a lower temperature when vaping and then to adjust accordingly so you can find that sweet spot for your own personal liking and also what works best for the specific strain or type of material you are vaporizing. It’s best to not exceed 430 degrees F as you run into the chance of combusting the plant material at these higher temperatures.
Choose The Right Heat
Once your device has heated up to temperature and you are ready to get down  to business, you just simply inhale gently from the mouthpiece. You shouldn’t be met with a lot of resistance when drawing air through the mouthpiece, though airflow does vary between different models and types of vaporizers. A good draw should last between 5-10 seconds, depending on how comfortable that is for each individual. Depending on the size of the load and the capacity of the heating chamber, you can get quite a few draws from a single oven load. Once the hits start having a popcorn-like flavor, it's time to dump out the duff into a 420 Jar and pack a fresh oven load.
We hope that our tips can help to lead you to have more enjoyable sessions when using your vaporizer. Happy Vaping!


